728x90
<Kubernetes :: 런타임 컨테이너 runtime container 실습 1>
- 런타임 컨테이너: 컨테이너 내에서 실행되는 실행 환경
- mymotto 폴더 생성해서 실습 진행
1. 명령형으로 pod 파일 생성
- 이름: mymotto
- 이미지 사용: *****/mymotto:1.0
- 포트 80번을 개방하나 --dry-run=client 옵션으로 실제로 클러스터에 적용되지는 않고 파일로만 출력
PS C:\Users\admin\Desktop\k8s-pods> kubectl run mymotto --image=mrsono0/mymotto:1.0 --port=80 --dry-run=client -o yaml > mymotto.yaml<mymotto.yaml> 파일 내용 확인
apiVersion: v1
kind: Pod
metadata:
  labels:
    run: mymotto
  name: mymotto
spec:
  containers:
  - image: mrsono0/mymotto:1.0
    name: mymotto
    ports:
    - containerPort: 80
2. mymotto.yaml으로 pod 실행
PS C:\Users\admin\Desktop\k8s-pods> kubectl apply -f mymotto.yaml
pod/mymotto created
<생성 확인>
A. k8s-node1에 mymotto 포드 생성 확인

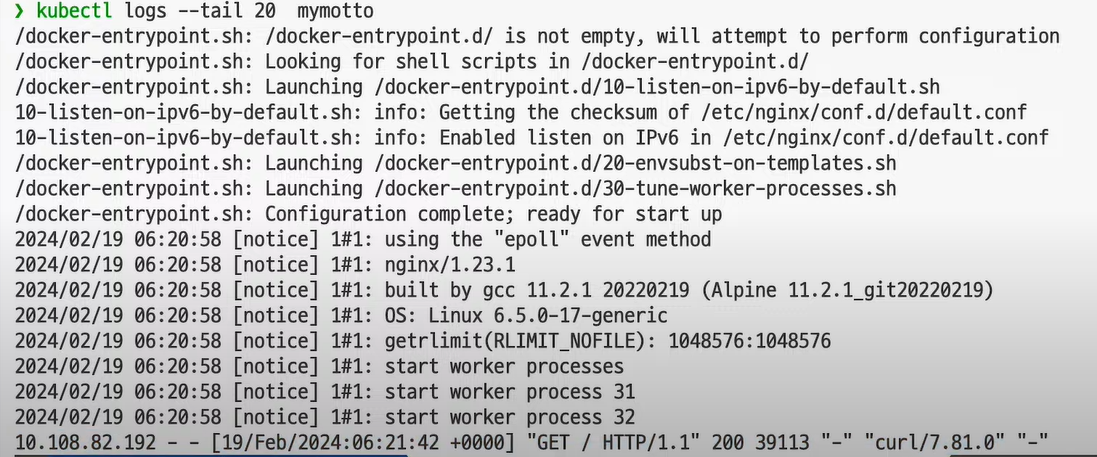
B. kubectl logs --tail 20 mymotto로 로그 확인
3. 서비스 노출
- Pod를 서비스로 노출
- 노출할 포트: 8002로, 포드의 포트 80으로 전달
- 서비스 유형: NodePort
- NodePort: 클러스터의 각 노드(Node)의 IP 주소와 지정된 포트를 통해 서비스에 직접 접근
PS C:\Users\admin\Desktop\k8s-pods> kubectl expose po mymotto --name=mymotto-svc --port=8002 --target-port=80 --type=NodePort --external-ip=192.168.56.101
service/mymotto-svc exposed
- 8002: 외부 / 32716: 내부
<포드 동작 확인>
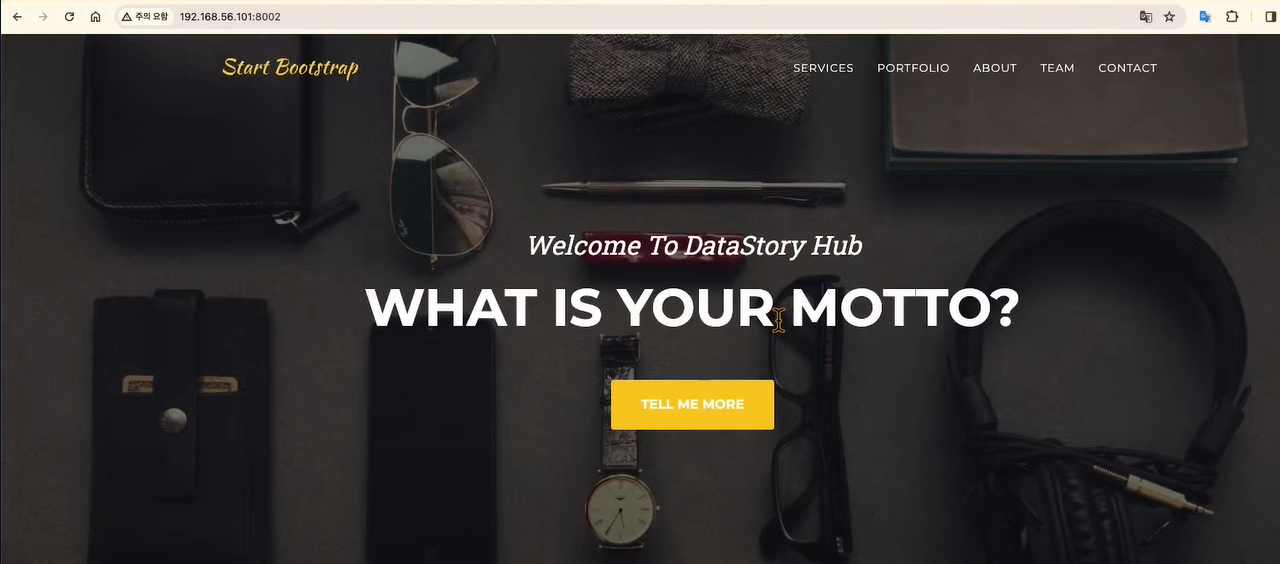
A. 192.168.56.101:8002로 접속 시 확인 가능
B. curl 명령어 이용
- crul 192.168.56.101:8002 / crul 192.168.56.101:32716 명령어 실행 시, 모두 출력은 가능하지만 32716는 내부 포트이기 때문에 다른 컴퓨터나 서버에서 접속 시 출력 불가능
<Kubernetes :: 런타임 컨테이너 runtime container 실습 2>
- myservice 폴더 제작 후 실습 진행
1. 이미지 직접 제작
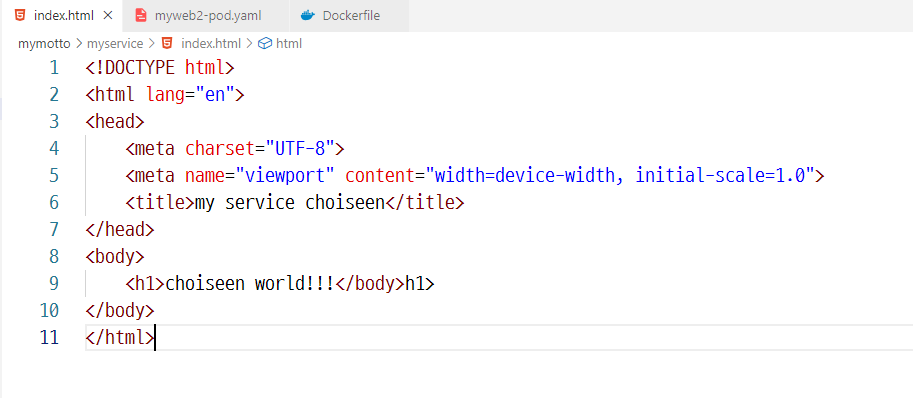
A. index.html 제작
B. Dockerfile 제작
- Nginx를 사용해 이미지 제작
- 컨테이너가 포트 80에서 수신 대기하도록 설정
- Nginx를 데몬 모드로 실행하는 명령을 설정
FROM nginx:1.25.3-alpine
COPY index.html /usr/share/nginx/html/index.html
EXPOSE 80
CMD ["nginx", "-g", "daemon off;"]- 도커파일과 index.html 파일이 함께 있는 거 확인 후 빌드 진행
2. 빌드 진행
PS C:\Users\admin\Desktop\k8s-pods> docker build -t choiseen/myservice:20240119 .
PS C:\Users\admin\Desktop\k8s-pods> docker run -it -d --rm --name=myservice -p 8001:80 choiseen/myservice:20240219- docker images ls로 제작 확인
- docker run 명령어를 통해 성공적으로 제작되는지 확인 가능

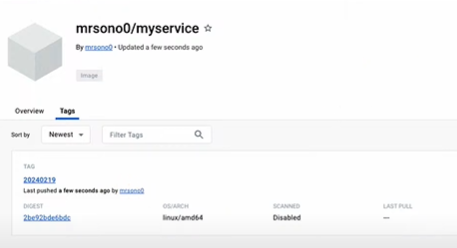
3. 이미지를 레지스트리에 Push
PS C:\Users\admin\Desktop\k8s-pods> docker push choiseen/myservice:20240219- docker hub에 이미지 업로드 확인 가능
4. pod에 관련한 yaml 파일 생성
- 이름: myservice-pod
- 이미지: ******/myservice:20240219 사용
- 클러스터에 적용하지는 않고 yaml 파일(myservice-pod.yam)로 출력
PS C:\Users\admin\Desktop\k8s-pods> kubectl run myservice-pod --image=******/myservice:20240219 --port=80 --dry-run=client -o yaml > myservice-pod.yaml<myservice-pod.yaml>
apiVersion: v1
kind: Pod
metadata:
  creationTimestamp: null
  labels:
    run: myservice-pod
  name: myservice-pod
spec:
  containers:
  - image: choiseen/myservice:20240219
    name: myservice-pod
    ports:
    - containerPort: 80
5. myservice-pod.yaml로 pod 실행
PS C:\Users\admin\Desktop\k8s-pods> kubectl apply -f myservice-pod.yaml
pod/myservice-pod created
<포드 실행 확인>
PS C:\Users\admin\Desktop\k8s-pods> kubectl get po -o wide | grep myservice
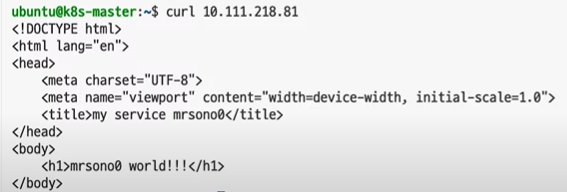
- myservice 포드가 k83-node에 생성된 것을 확인할 수 있음
- 클러스터 내 IP가 10.111.218.81임을 확인 가능
6. 서비스 외부 노출 지정하여 yaml 파일 생성
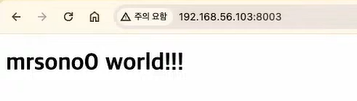
- 노출 포트는 8003이며 pod의 포트 80으로 포워드 진행
- 외부 IP: 192.168.56.103 사용
PS C:\Users\admin\Desktop\k8s-pods> kubectl po myservice-pod --name=myservice-svc --port=8003 --target=port=80 --type=NodePort --external-ip=192.198.56.103 --dry-run=client -o yaml > myservcie-svc.yaml<myservice-svc.yaml>
apiVersion: v1
kind: Service
metadata:
  creationTimestamp: null
  labels:
    run: myservice-pod
  name: myservice-svc
spec:
  externalIPS:
  - 192.168.56.103
  ports:
  - port: 8003
    protocol: TCP
    targetPort: 80
  selector:
    run: myservice-pod
  type: NodePort
7. 서비스 선언 (외부에 노출)
PS C:\Users\admin\Desktop\k8s-pods> kubectl apply -f myservice-svc.yaml
pod/myservice-svc created- 외부 포트 8003으로 접속 확인
<Kubernetes :: 런타임 컨테이너 runtime container 실습 3>
1. 명령어로 myservcie-deploy.yaml 생성
- kubectl create deployment: 새로운 배포 생성
- myservice:20240219를 사용하여 포트 80번 개방
- --relpicas=3으로 배포 시 3개의 파드 생성
PS C:\Users\admin\Desktop\k8s-pods> kubectl create deployment myservice-deploy --image=myservice:20240219 --port=80 --relpicas=3 --dry-run=client -o yaml > myservcie-deploy.yaml<myservcie-deploy.yaml>
- apps/v1: Deployment, ReplicaSet, DaemonSet 등과 같은 애플리케이션 배포와 관련된 리소스를 포함
apiVersion: apps/v1
kind: Deployment
metadata:
  creationTimestamp: null
  labels:
    app: myservice-deploy
  name: myservice-deploy
spec:
  replicas: 3
  selector:
    matchLabels:
      app: myservice-deploy
  strategy: {}
  template:
    metadata:
      creationTimestamp: null
      labels:
        app: myservice-deploy
    spec:
      containers:
      - image: ******/myservice:20240219
        name: myservice
        ports:
        - containerPort: 80
        resources: {}
status: {}
2. myservcie-deploy.yaml 포드 실행
- 레플리카를 3개로 지정했기 때문에 생성 시 3개 생성되어야 함
PS C:\Users\admin\Desktop\k8s-pods> kubectl apply -f myservice-svc.yaml
deployment.apps/myservice-deploy created
<레플리카 생성 확인>

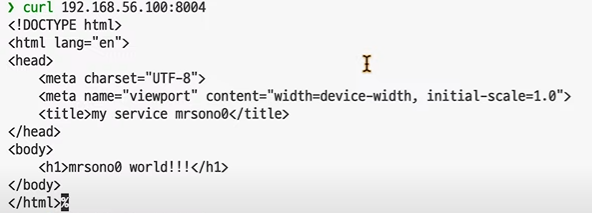
3. myservcie-deploy 외부 포트 노출
- 노출할 포트: 8004 > 포드의 80 포트로 포워딩
PS C:\Users\admin\Desktop\k8s-pods> kubectl expose deployment myservice-deploy --name=myservice-deploy-svc --port=8004 --target-port=80 --type=NodePort -external-ip=192.168.56.100
servce/myservice-deploy-svc exposed
<외부 포트를 통해 포워딩 확인>
4. myservice-deploy-svc.yaml로 파일 제작
PS C:\Users\admin\Desktop\k8s-pods> kubectl expose deployment myservice-deploy --name=myservice-deploy-svc --port=8004 --target-port=80 --type=NodePort -external-ip=192.168.56.100 --drt-run=client -o yaml > myservice-deploy-svc.yaml
servce/myservice-deploy-svc exposed
<myservice-deploy-svc>
apiVersion: v1
kind: Service
metadata:
  creatironTimestamp: null
  labels:
    app: myservice-deploy
  name: myservice-deploy-svc
spec:
  externalIPs:
  - 192.168.56.100
  ports:
  - port: 8004
    protocal: TCP
    targetPort: 80
  selector:
    app: myservice-deploy
  type: NodePort
status:
loadBalancer: {}'클라우드 + DevOps > Kubernetes (k8s)' 카테고리의 다른 글
| Kubernetes :: 이니셜 컨테이너 initial container 실습 (0) | 2024.04.21 |
|---|---|
| Kubernetes 쿠버네티스 실습 :: 생성한 Deployment 수정 (0) | 2024.04.21 |
| Kubernetes 쿠버네티스 :: workload resources (1) | 2024.04.20 |
| Kubernetes 실습 :: 포드(pod) 관리 - imperative syntax 포드 명령형 (0) | 2024.04.19 |
| Kubernetes 쿠버네티스 :: 동적 Volume, StorageClass (1) | 2024.04.19 |