728x90
<Rocky 컨테이너 구축>
<로키 이미지 가져오기>
ubuntu@host1:~$ **docker image pull rockylinux:8.9-minimal**
8.9-minimal: Pulling from library/rockylinux
34c17bf46de9: Pull complete
Digest: sha256:6e772539b14a6463bfe3b1a8ee26200fbd01ec830ac02aaff9c16ebf27f2f410
Status: Downloaded newer image for rockylinux:8.9-minimal
[docker.io/library/rockylinux:8.9-minimal](<http://docker.io/library/rockylinux:8.9-minimal>)

**** 가져온 이미지 확인**
ubuntu@host1:~$ docker image ls
REPOSITORY   TAG           IMAGE ID       CREATED       SIZE
ubuntu       22.04         174c8c134b2a   4 weeks ago   77.9MB
rockylinux   8.9-minimal   a45448f0eb32   5 weeks ago   93.3MB
centos       8             5d0da3dc9764   2 years ago   231MB
ubuntu@host1:~$
<컨테이너 생성 및 접속>
- docker run [옵션] [이미지이름 or 이미지ID] [실행할 파일]
- -it: 인터랙티브 터미널. 컨테이너를 생성하면 터미널을 띄워라.
- 맨 뒤에 명령어를 붙여주지 않으면 생성되고 바로 종료
ubuntu@host1:~$ **docker container run -it --name=linux-rocky rockylinux:8.9-minimal bash**
bash-4.4# >> 컨테이너를 생성해 bash 라는 언어로 가동 중
<컨테이너 상태 확인하기>
- docker container ls
- -a를 붙이면 접속 시간 확인 가능
ubuntu@host1:~$ docker container ls **-a**
CONTAINER ID   IMAGE                    COMMAND   CREATED         STATUS                    PORTS     NAMES
f9bfb7797618   rockylinux:8.9-minimal   "bash"    5 minutes ago   Up 5 minutes                        linux-rocky
a6a1333808a4   ubuntu:22.04             "bash"    17 hours ago    Exited (0) 17 hours ago             linux-ubuntu
95f202fb53fe   centos:8                 "bash"    17 hours ago    Exited (0) 17 hours ago             linux-centos
ubuntu@host1:~$
< NginX 컨테이너 구축>
<엔진엑스 이미지 가져오기>
ubuntu@host1:~$ docker pull nginx:1.25.3-alpine3.18-slim
<엔진엑스 컨테이너 생성>
- -d: 데몬으로 실행
- (-p) 포트 바인딩: 8001으로 들어가서 컨테이너 안에서는 80으로 접속
- 8001 (호스트IP) : 80 (컨테이너 IP)
- —name: 컨테이너 이름
docker container run -d -p 8001:80 --name=my-webserver1 nginx:1.25.3-alpine3.18-slim
<컨테이너 안에 들어간 거 확인>
- docker ps: 도커 프로세스 확인 (몇 분 전에 들어갔는지, 포트 확인)
ubuntu@host1:~$ docker ps | grep my-webserver1
68ab46dfd9ce   nginx:1.25.3-alpine3.18-slim   "/docker-entrypoint.…"   48 seconds ago   Up 47 seconds   0.0.0.0:8001->80/tcp, :::8001->80/tcp   my-webserver1
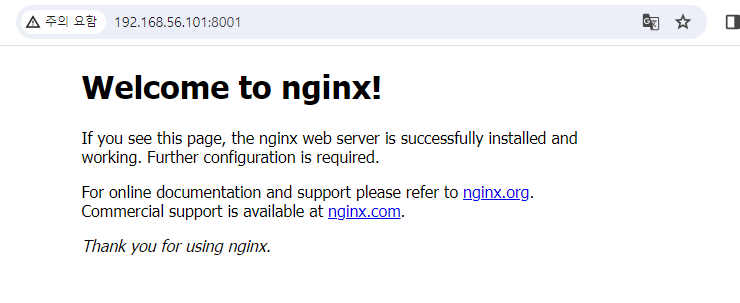
<Nginx 가동 확인>
1. curl 명령어 사용
ubuntu@host1:~$ curl localhost:8001
<!DOCTYPE html>
<html>
<head>
<title>Welcome to nginx!</title>
<style>
html { color-scheme: light dark; }
body { width: 35em; margin: 0 auto;
font-family: Tahoma, Verdana, Arial, sans-serif; }
</style>
</head>
<body>
<h1>Welcome to nginx!</h1>
<p>If you see this page, the nginx web server is successfully installed and
working. Further configuration is required.</p>

<p>For online documentation and support please refer to
<a href="http://nginx.org/">nginx.org</a>.<br/>
Commercial support is available at
<a href="http://nginx.com/">nginx.com</a>.</p>

<p><em>Thank you for using nginx.</em></p>
</body>
</html>
2. 브라우저에서 접속 (포트 번호 붙여 접속)
ubuntu@host1:~/Labs$ docker container ps -a
CONTAINER ID   IMAGE                          COMMAND                   CREATED          STATUS                      PORTS                                   NAMES
68ab46dfd9ce   nginx:1.25.3-alpine3.18-slim   "/docker-entrypoint.…"   24 minutes ago   Up 24 minutes               0.0.0.0:8001->80/tcp, :::8001->80/tcp   my-webserver1
f9bfb7797618   rockylinux:8.9-minimal         "bash"                    53 minutes ago   Exited (0) 38 minutes ago                                           linux-rocky
a6a1333808a4   ubuntu:22.04                   "bash"                    18 hours ago     Exited (0) 18 hours ago                                             linux-ubuntu
95f202fb53fe   centos:8                       "bash"                    18 hours ago     Exited (0) 18 hours ago                                             linux-centos
<이미지가 만들어지는 과정을 보여주는 명령어>
ubuntu@host1:~$ docker image history nginx:1.25.3-alpine3.18-slim

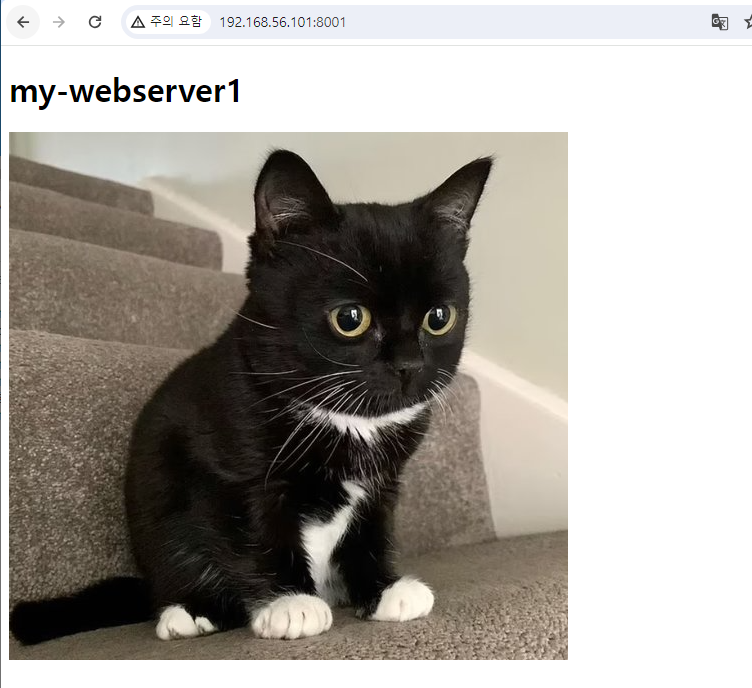
<엔진엑스 구축 및 관리>
1. index.html 제작
<!DOCTYPE html>
<html lang="en">
<head>
    <meta charset="UTF-8">
    <meta name="viewport" content="width=device-width, initial-scale=1.0">
    <title>my-webserver1</title>
</head>
<body>
    <h1>my-webserver1</h1>
    <img src="./cat.jpg">
</body>
</html>
2. 컨테이너 안에 파일 복사
ubuntu@host1:~/Labs$ docker container cp ./index.html my-webserver1:/usr/share/nginx/html/
Successfully copied 2.05kB to my-webserver1:/usr/share/nginx/html/
>> index.html 파일 복사
ubuntu@host1:~/Labs$ docker container cp ./cat.jpg my-webserver1:/usr/share/nginx/html/
Successfully copied 56.8kB to my-webserver1:/usr/share/nginx/html/
>> cat.jpg 사진 복사
<결과 확인>
'클라우드 + DevOps > Docker' 카테고리의 다른 글
| Docker 컨테이너 구축 실습으로 docker 명령어 알아보기 (3): Portainer, 리눅스 알파인 (0) | 2024.02.08 |
|---|---|
| Docker 컨테이너 구축 실습으로 docker 명령어 알아보기 (2): MySQL, MariaDB (0) | 2024.02.07 |
| Docker를 이용한 레지스트리 서버 이용 (1) | 2024.02.05 |
| 가상머신 Virtual Box에서 Docker 접속하기 (0) | 2024.02.02 |
| Docker 실습 :: MYSQL과 WORDPROCESS 연동해 관리 (docker compose) (0) | 2024.01.20 |